Homepage
MemberOrganizer includes a homepage module (also called a CMS) that is easy to use. You can see an example of a real website built with the homepage module here:
https://www.badminton-roskilde.dk
And here is an example of a demo website:
You can easily customize the website to contain the content you want.
The website also works on mobile phones and tablets (e.g. iPad). The website automatically adapts to the smaller screen. Try entering the address above in a mobile phone browser to see how it looks.
In the website system you can create as many pages as you like — for example pages about the board, contact information, enrollment, resignation, the association’s history, and so on. You can also add images and documents — for example minutes from general meetings, budgets, and annual accounts.
Some pages on the website are created automatically by the system. These are called system pages. Examples include:
Enrollment
Sign-up
Login
Maintenance of own master data
Calendar
Attendance lists
System pages are built from the data and configuration in the system — for example the activities members can sign up for, or the attendance lists set up for individual instructors.
Integrated homepage
The homepage module is an integrated part of the membership system — i.e. it is one and the same system. This means, for example, that when a member enrolls via the website, the member is created directly in the member list in the membership system.
It also means that if you open sign-up for a new team, the team automatically appears on the website without you having to do anything.
There are therefore many advantages to the website being an integrated part of the system.
You can however use another website system if you prefer. In that case you can use the system’s Member Portal (read more under Member Portal), which is also a kind of website, but where the focus is exclusively on member-related things — enrollment, sign-up, and similar. In the Member Portal you cannot add your own pages such as the board, history, bylaws, and similar.
Creating a website
If you want to try the homepage module to see how it looks, or to see whether it can do what you need, do the following:
Make sure you are logged in to the administrative part of the system. If you have not created an association, start by creating one on the system — this is free and non-binding.
Click the association name at the top left.
Tick “Homepage module”.
Click “Save” at the bottom right.
A menu item called Homepage now appears on the left, with a range of sub-menu items where you can create pages, posts, manage menus, and more.
Own domain
You can connect your own domain — also called website address — to the website. You simply change the DNS configuration at the web host you use today. Your current web host can probably help with this. Specifically you must change an A record so it points to the following IP address: 176.34.235.132. You need 2 A records — both with and without www. When you have changed this, contact us, as we must then change something on our side. We can only make our change after you have made yours.
If you do not have your own domain but want one, contact us and we can probably help you further. We generally recommend https://one.com as a web host, as it is a very stable provider with reasonable pricing.
Web host
Even if you build your website in MemberOrganizer’s website system, you still need a web host. This is because a web host — in addition to serving a website — typically also controls 2 other central things:
DNS — i.e. where your website name “points”.
Email addresses
DNS is used to tell browsers that MemberOrganizer’s servers are where the website should be served from when someone visits your website name — also called the domain name.
Email addresses are the addresses you typically have as an association — for example an address starting with info followed by an at sign (@) and your website name.
MemberOrganizer does not provide DNS or email addresses, so you still need a web host even if you use our homepage module to build your website.
You can of course still send emails via MemberOrganizer. Subsequent communication with members then takes place in your own email systems — typically those provided by the web host.
We can recommend the web host one.com. They deliver a good product for the price.
Websites, web hosts, and DNS can be confusing if you do not work with this normally. Another thing that can add to the confusion is the website name — also called a domain name. For .dk domains this is typically managed by punktum.dk, where you register the domain name. But that is separate from the web host itself.
Front page
The first thing you can change on the website is the front page. This is done under “Homepage -> Front page”. Here you can upload an image for the front page and optionally specify a subtitle shown on the front page. The association name is always shown as the title on the front page.
You can also choose whether the system should show the latest posts on the front page, or a fixed page — for example a welcome page. In that case you must create a page for this purpose and then select it.
Creating pages
A page is content that does not change very often — for example the association’s history or board.
To create a new page on the website — for example about the association’s history — choose “Homepage -> Pages” and then click the blue “Create page” button.
Give the page a name and enter the text for the page. You can also easily insert images via the menu bar just above the large white field where you enter the text.
When you have finished the page, click “Save” at the bottom right.
Now place the page in the desired location in the menu via “Homepage -> Menu structure”. Choose the newly created page in “Page list” and click the blue “Add >>” button, whereupon the page is added as the last menu item.
The menu item can then be “dragged” to another position if desired.
Remember to click “Save changes” at the bottom right when finished.
Creating posts
Another word for a post could be news. A post is typically content that is current right now. It might be a call to a general meeting, or news about a team that has done well in a tournament.
A post is created as follows: Choose “Homepage -> Posts” and then click “Create post”. Give the post a title and write the content. Optionally add an image by choosing the image icon in the menu bar just above the large white field where you enter the text.
When you have finished the post, click “Save” at the bottom right.
Creating a gallery
A gallery is a collection of images, created as follows: Choose “Homepage -> Galleries” and then click “Create gallery”. Give the gallery a title and click “Save”. Now go to “Choose action” on the right next to the gallery and choose “Add images”. Click “Choose file” and select the images on your computer that should be in the gallery.
When the gallery has been created, add a menu item that shows the galleries. See the section on menu structure, where you add a system page of type gallery.
Right side
Under “Homepage -> Right side” in the administrative part of the system you can choose to show selected content in the right column.
This can be latest posts, upcoming events, a gallery, a Facebook page, optional text, and similar.
On small screens, content from the “right side” is shown at the bottom of the page, as there is no room to show content in both the centre and right side of the screen. So “right side” applies only to larger screens.
Access to edit the website
By default the association administrator has access to edit and maintain the website. It is easy to give more users access. Go to the membership system under “Configuration -> Users -> User list and access” and assign the “Homepage” permission to the user(s) who should be able to edit the website.
Tips and tricks
Clickable image that opens file
You can make an image that opens a file when clicked — for example a PDF document. This can be used to show the front page of a newsletter, and when you click the front-page image, the newsletter itself opens — the PDF document.
First click here:
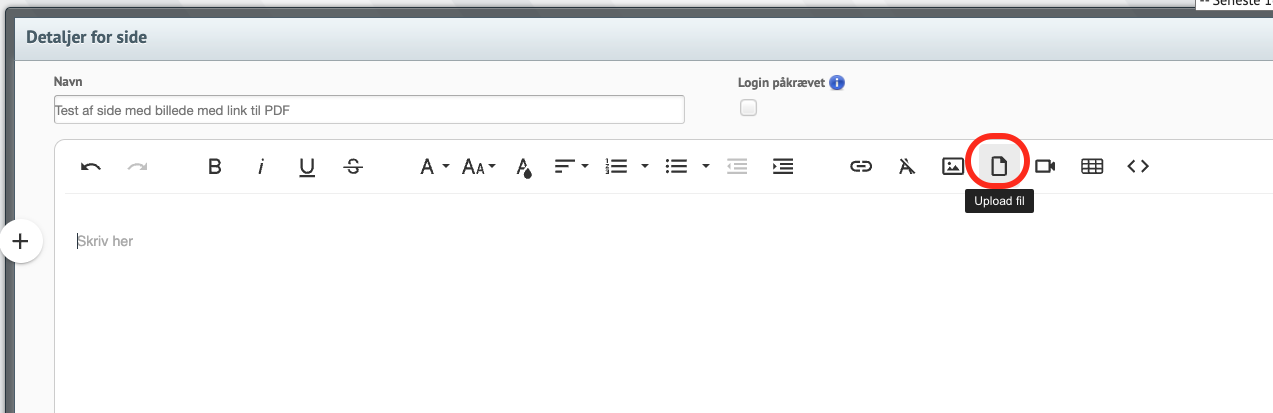
Then choose your newsletter from your computer.
A link to the file is inserted in the large white input field — leave this link in place for now. In this example the file is called “Newsletter February 2024”.
Then insert a line break in the large white input field.
Now click the “Insert image” icon shown here:
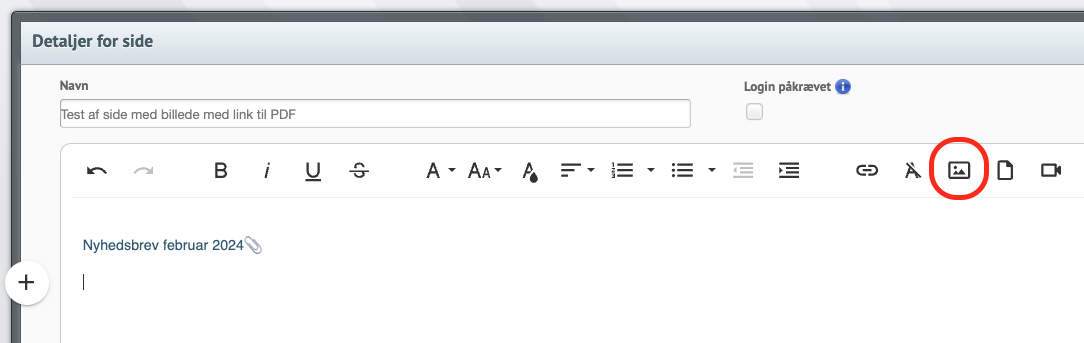
Choose the newsletter image from your computer. You must have prepared an image of the newsletter front page in advance.
Now click the newsletter link (in the example “Newsletter February 2024”) with the mouse and then click the pencil icon:
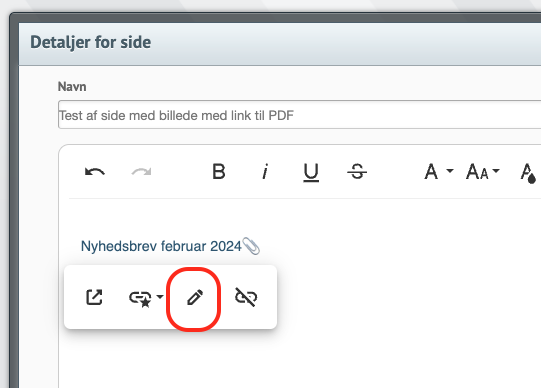
A box appears with a field called “URL”. Copy this URL by selecting it with the mouse and pressing ctrl-c.
Now click the image that was inserted earlier, and then click the link icon:
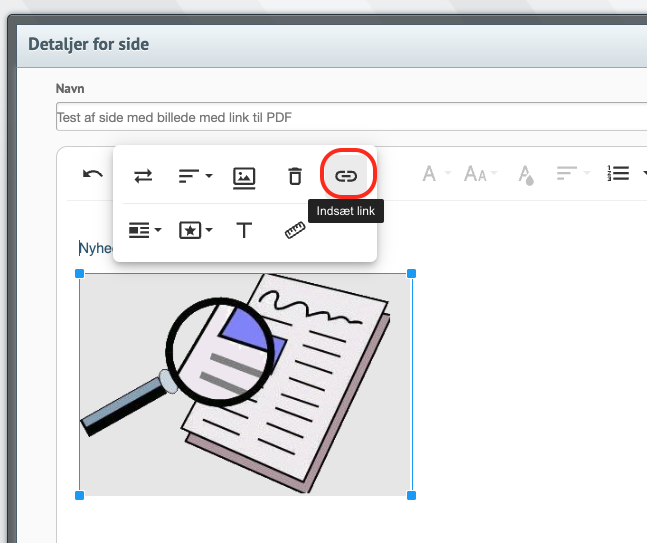
A box appears with a field called “URL”. Paste the URL you copied earlier with ctrl-v, click “Update”, and save the page when finished.